Home » Ball Retainer Bearing » Retainer Bearing

Retainer Bearing
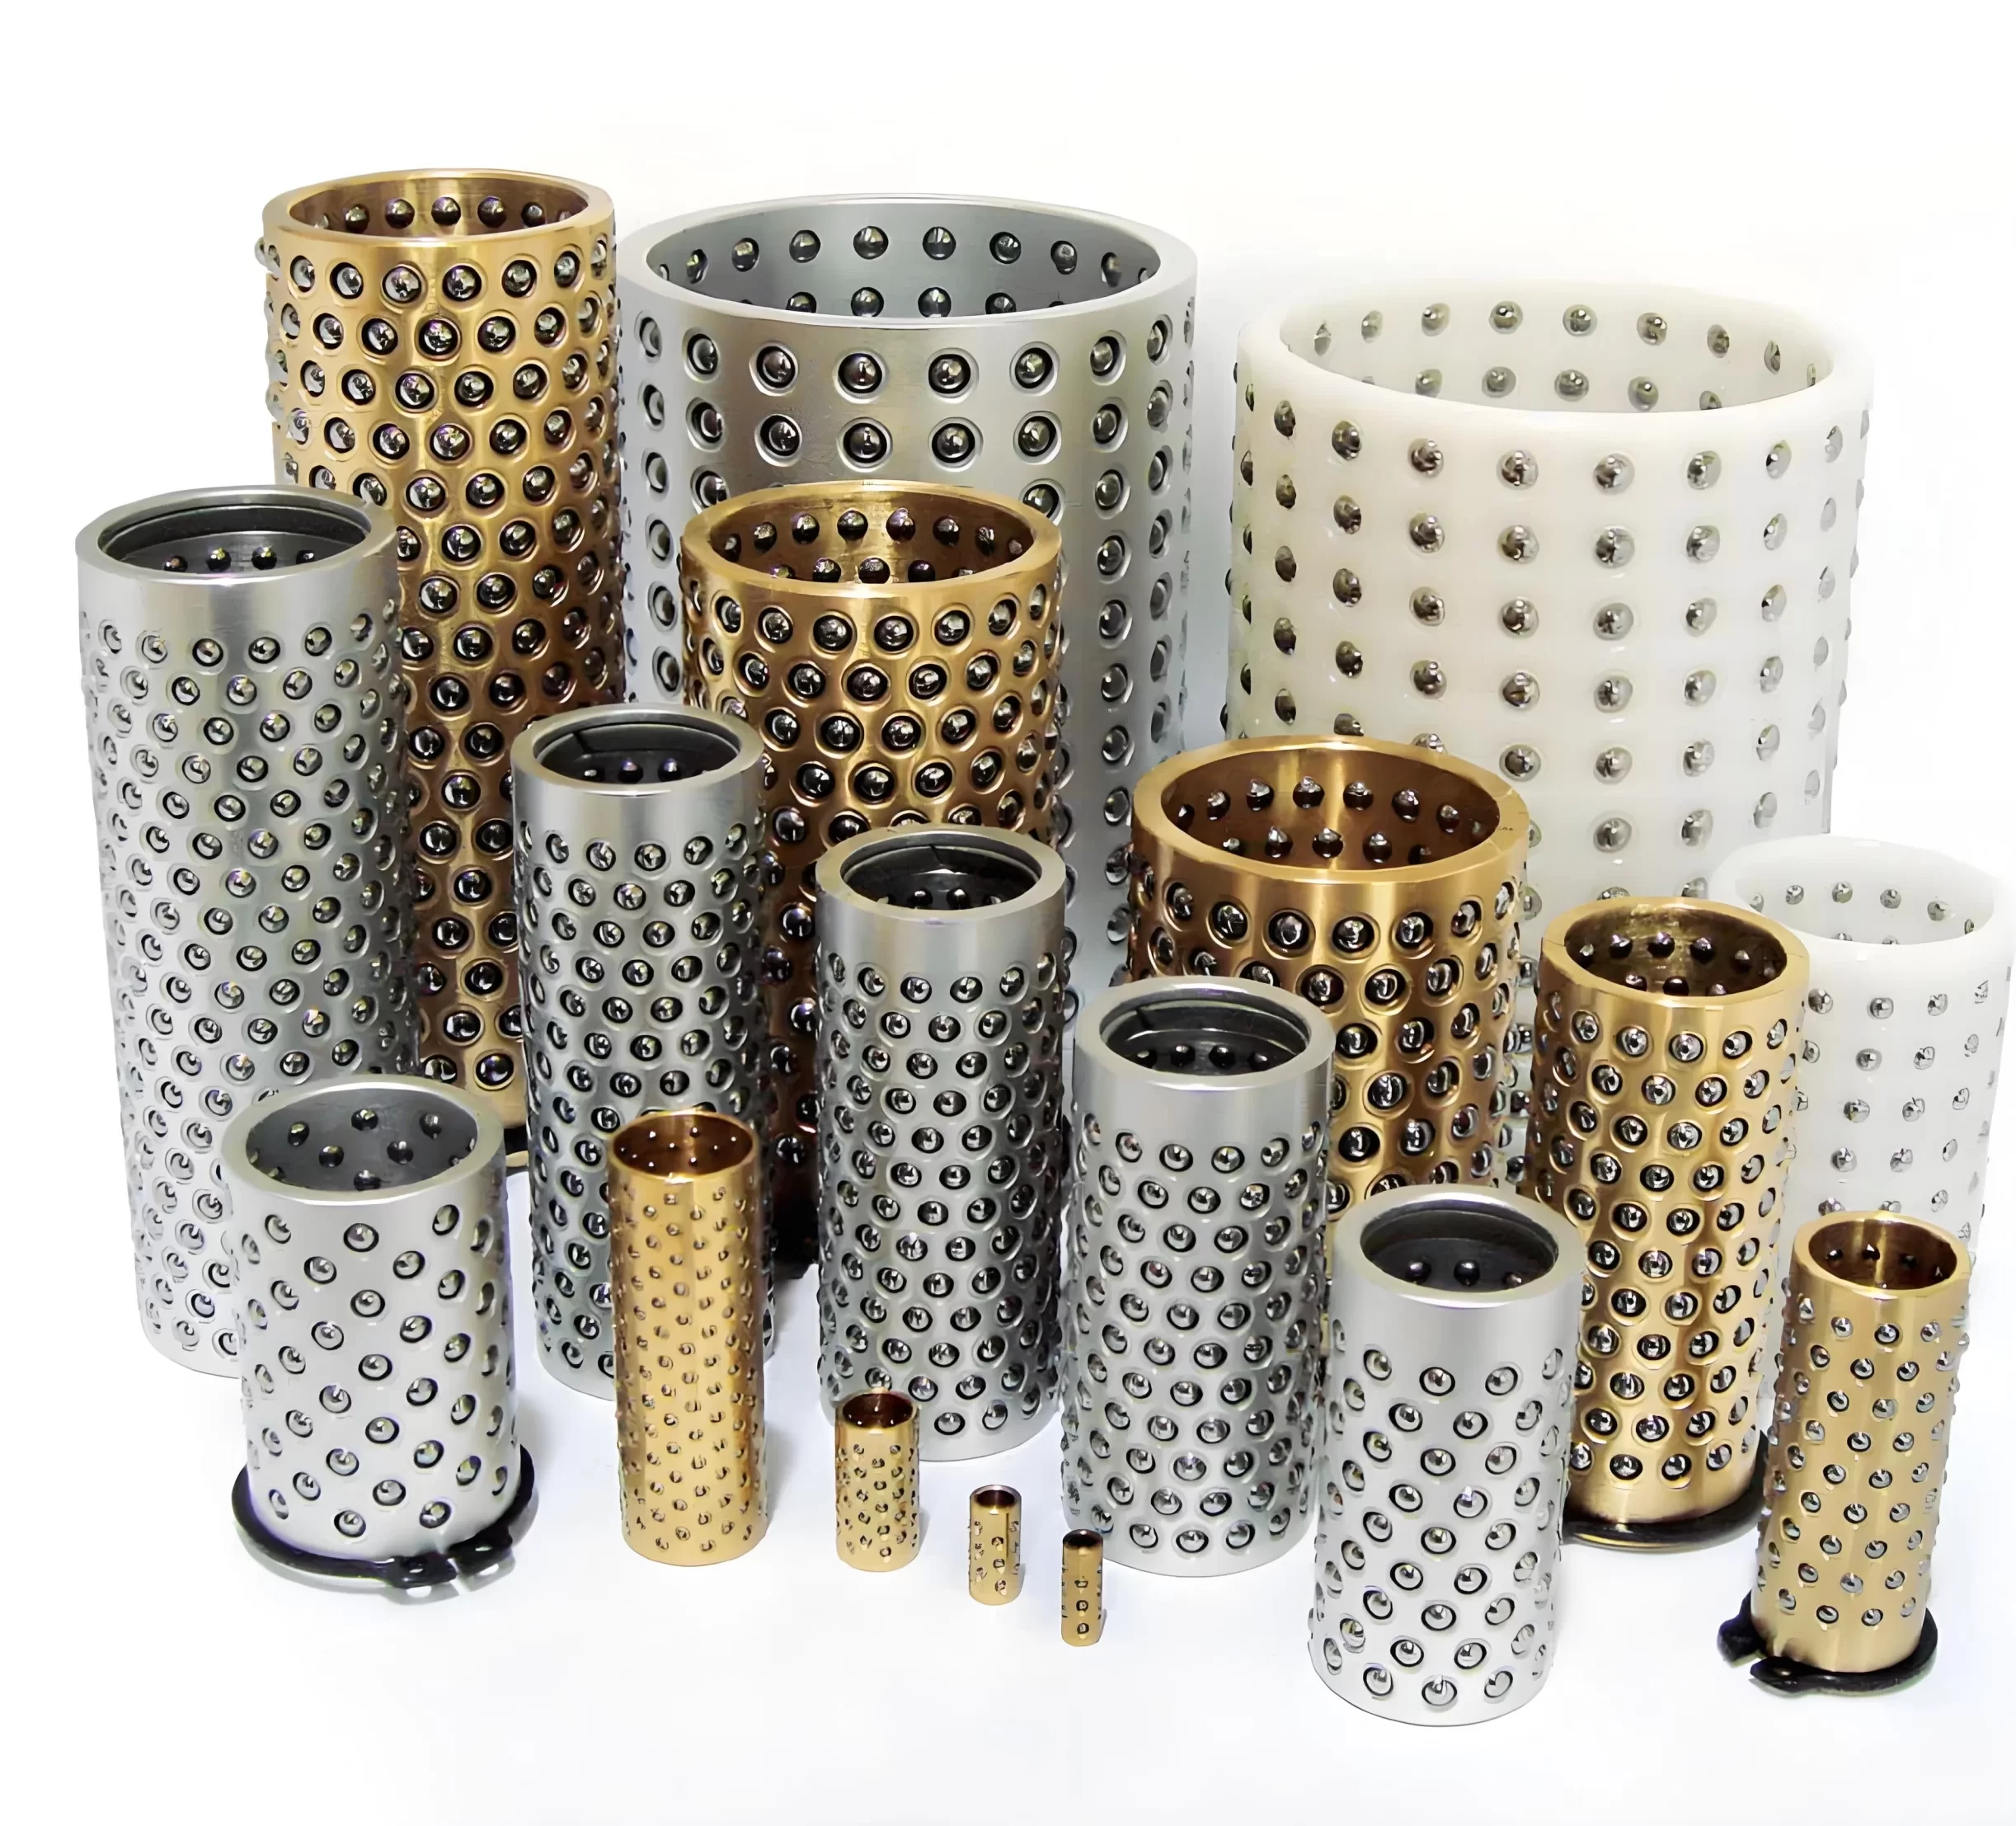
This product uses copper alloy (FZH), aluminum alloy (FZL), or POM resin (FZP) as the retainer frame. The surface is machined with regularly spaced holes where rolling steel balls are embedded. The ball retention is achieved through a circumferential oil groove locking process at the hole openings.
The products are widely used in cold punching machine rolling die sets, high-precision machine tools, machine tool accessories, and applications requiring high-precision simultaneous axial or axial-radial motion.
Standard Product Designation
FZ□ [Type] [D]
Example: FZH 1950 (where □ indicates material code: H for copper alloy, L for aluminum alloy, P for POM resin)
Unit: mm
| Designation | φD | H | φd | EN | MN | Balls | t | T |
| FZ□1950 | 19 | 50 | 3 | 12 | 8 | 96 | 5.5 | 5.75 |
| FZ□1960 | 60 | 10 | 120 | 5.25 | ||||
| FZ□ 2050 | 20 | 50 | 8 | 96 | 5.75 | |||
| FZ□ 2060 | 60 | 10 | 120 | 5.25 | ||||
| FZ□2250 | 22 | 50 | 14 | 8 | 112 | 5.75 | ||
| FZ□2260 | 60 | 10 | 140 | 5.25 | ||||
| FZ□2360 | 23 | 60 | 10 | 140 | 5.25 | |||
| FZ□2475 | 24 | 75 | 16 | 13 | 208 | 5.45 | 4.80 | |
| FZ□2550 | 25 | 50 | 8 | 128 | 5.5 | 5.75 | ||
| FZ□ 2560 | 60 | 10 | 160 | 5.25 | ||||
| FZ□ 2775 | 27 | 75 | 13 | 208 | 5.45 | 4.80 | ||
| FZ□ 2860 | 28 | 60 | 4 | 14 | 8 | 112 | 6.5 | 7.25 |
| FZ□ 2875 | 75 | 11 | 154 | 5.0 | ||||
| FZ□3060 | 30 | 60 | 8 | 112 | 7.25 | |||
| FZ□3075 | 75 | 11 | 154 | 5.0 | ||||
| FZ□3260 | 32 | 60 | 16 | 8 | 128 | 7.25 | ||
| FZ□ 3275 | 75 | 11 | 176 | 5.0 | ||||
| FZ□ 3685 | 36 | 85 | 12 | 192 | 6.75 | |||
| FZ□ 3690 | 90 | 13 | 208 | 6.0 | ||||
| FZ□ 3870 | 38 | 70 | 5 | 8 | 128 | 8.0 | 7.0 | |
| FZ□ 3890 | 90 | 11 | 176 | 7.9 | 5.5 | |||
| FZ□4090 | 40 | 90 | 11 | 176 | 5.5 | |||
| FZ□4590 | 45 | 90 | 18 | 11 | 195 | 5.5 | ||
| FZ□45110 | 110 | 13 | 234 | 8.0 | 7.0 | |||
| FZ□ 5090 | 50 | 90 | 20 | 11 | 220 | 7.9 | 5.5 | |
| FZ□50110 | 110 | 13 | 260 | 8.0 | 7.0 | |||
| FZ□6090 | 60 | 90 | 22 | 11 | 242 | 7.9 | 5.5 | |
| FZ□60110 | 110 | 13 | 286 | 8.0 | 7.0 | |||
| FZ□80130 | 80 | 130 | 28 | 15 | 420 | 9.0 |
Note: Some parameter columns (H, T, Balls) in the original data were incomplete or inconsistent. The table structure has been standardized for clarity. Please verify specific dimensional requirements for individual designations.
Inspection Methods for Wrapped Bushings—— Wrapped Bearings Installation
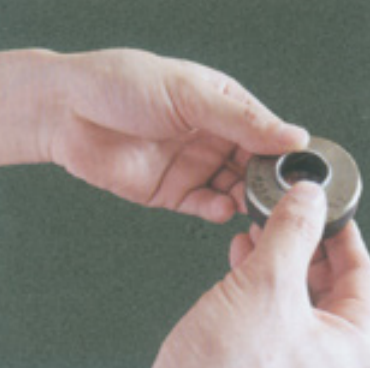
Common Test Method of Outside Diameter (ISO 3547-2:1999 Test B)
The bushings shall be pressed into the GO ring gauge by hand and pushed through with a maximum force of 250N.
Using the same method and force, the bushings shall not be able to enter the NO-GO ring gauge.

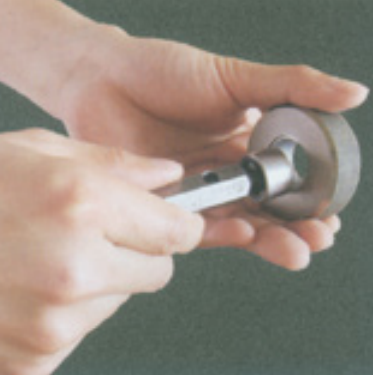
Common Test Method of Inner Diameter (ISO 3547-2:1999 Test C)
To check the inner diameter, the bush is pressed into a ring gauge.
The GO plug gauge shall be inserted with minimal effort.
The NO-GO plug gauge shall not be inserted under maximum force of 250N.
Note: When the bush is pressed into the ring gauge, a permanent reduction in the outside diameter may occur.

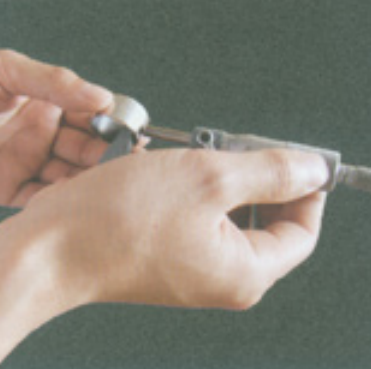
Common Method of Wall Thickness Measurement
The wall thickness is measured at one, two, or three positions axially according to the bearing height dimensions.

B [mm] | Measurement Positions (X [mm]) | Number of Positions |
|---|---|---|
B ≤ 15 | B/2 | 1 |
15 < B ≤ 50 | B/4 and 3B/4* | 2 |
50 < B ≤ 90 | 6 and B/2 | 3 |
B > 90 | 8 and B/2 | 3 |
*For B between 15mm and 50mm, the two measurement positions are typically taken at one-quarter and three-quarters of the bearing height (B) to ensure representative sampling.

